In this tutorial, we will learn, in a simple way, how to create a spotlight-type light in a projector-type lamp.
KeyShot offers us different types of lights. To achieve a light that simulates the projection of a spotlight, we must select the “Spotlight” light type.
To do this, we will follow the following steps:
1. Create a cylinder to simulate the light emitter
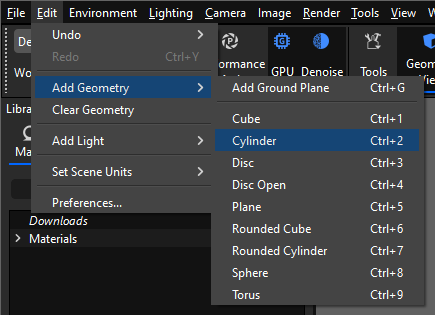
We need to create a cylinder, which we can do by pressing Ctrl+2 or through the menu at Edit > Add Geometry > Cylinder.
In our case, we have a 3D model of a spotlight or projector lamp. The objective now is to place that cylinder outside the focal point’s outlet.
Using the ‘Move Tool,’ we scale the dimensions of the cylinder, doing it by eye.
2. Convert the cylinder into a spotlight or projector light
Once the cylinder is positioned at the end of the lamp, we will double-click on the object or right-click and select ‘Edit material.’
Here is where we should open the dropdown menu under ‘Type’ and change the default ‘Diffuse’ to ‘Spotlight.’
3. Modify the projection of the Spotlight
Now, to modify the projection of the Spotlight, we need to go to the ‘Scene’ tab. It’s crucial to be in the ‘Scene’ tab; otherwise, we won’t be able to edit the light projection.
Notice how the editable light changes with different colors. Cyan refers to the range of the light beam, and pink refers to the amount of blur the light will have.
Next, we should stretch the cyan-colored line so that the light travels farther and can project to a certain distance or onto the desired surface:
4. Adjust the light parameters
Now, let’s edit the Spotlight material:
- First, let’s give it a warm light. Click on the color and enter the value of 3000K in ‘Temperature.’
- The ‘Power‘ represents the amount of light. We’ll set it to 60 Watts.
- The ‘Beam Angle‘ measures the level of light aperture. We want it to have a bit but not too much. Let’s set it to about 7º.
- The ‘Falloff‘ or blur level represents how much blurriness we want. For our spotlight, we want it to have a subtle amount so the light isn’t too harsh. We’ll set it to 0.3.
- The ‘Radius‘ parameter depends on the dimensions of the lamp’s 3D model. In our case, for the projector we’re using, we’ll enter the value of 2.58 cm.
5. Integrate the set of lights into a real environment
The final step will be to add our set of projector spotlights into a KeyShot interior scene.
If you don’t have an interior scene, you can acquire one in Pro Scenes for KeyShot.
Note: Don’t forget to add the cylinder inside the spotlight: in ‘Scene’ in the object tree, place the cylinder, which is now our light, inside the 3D model of the spotlight – projector. This way, when you move the spotlight, the light will move with it.
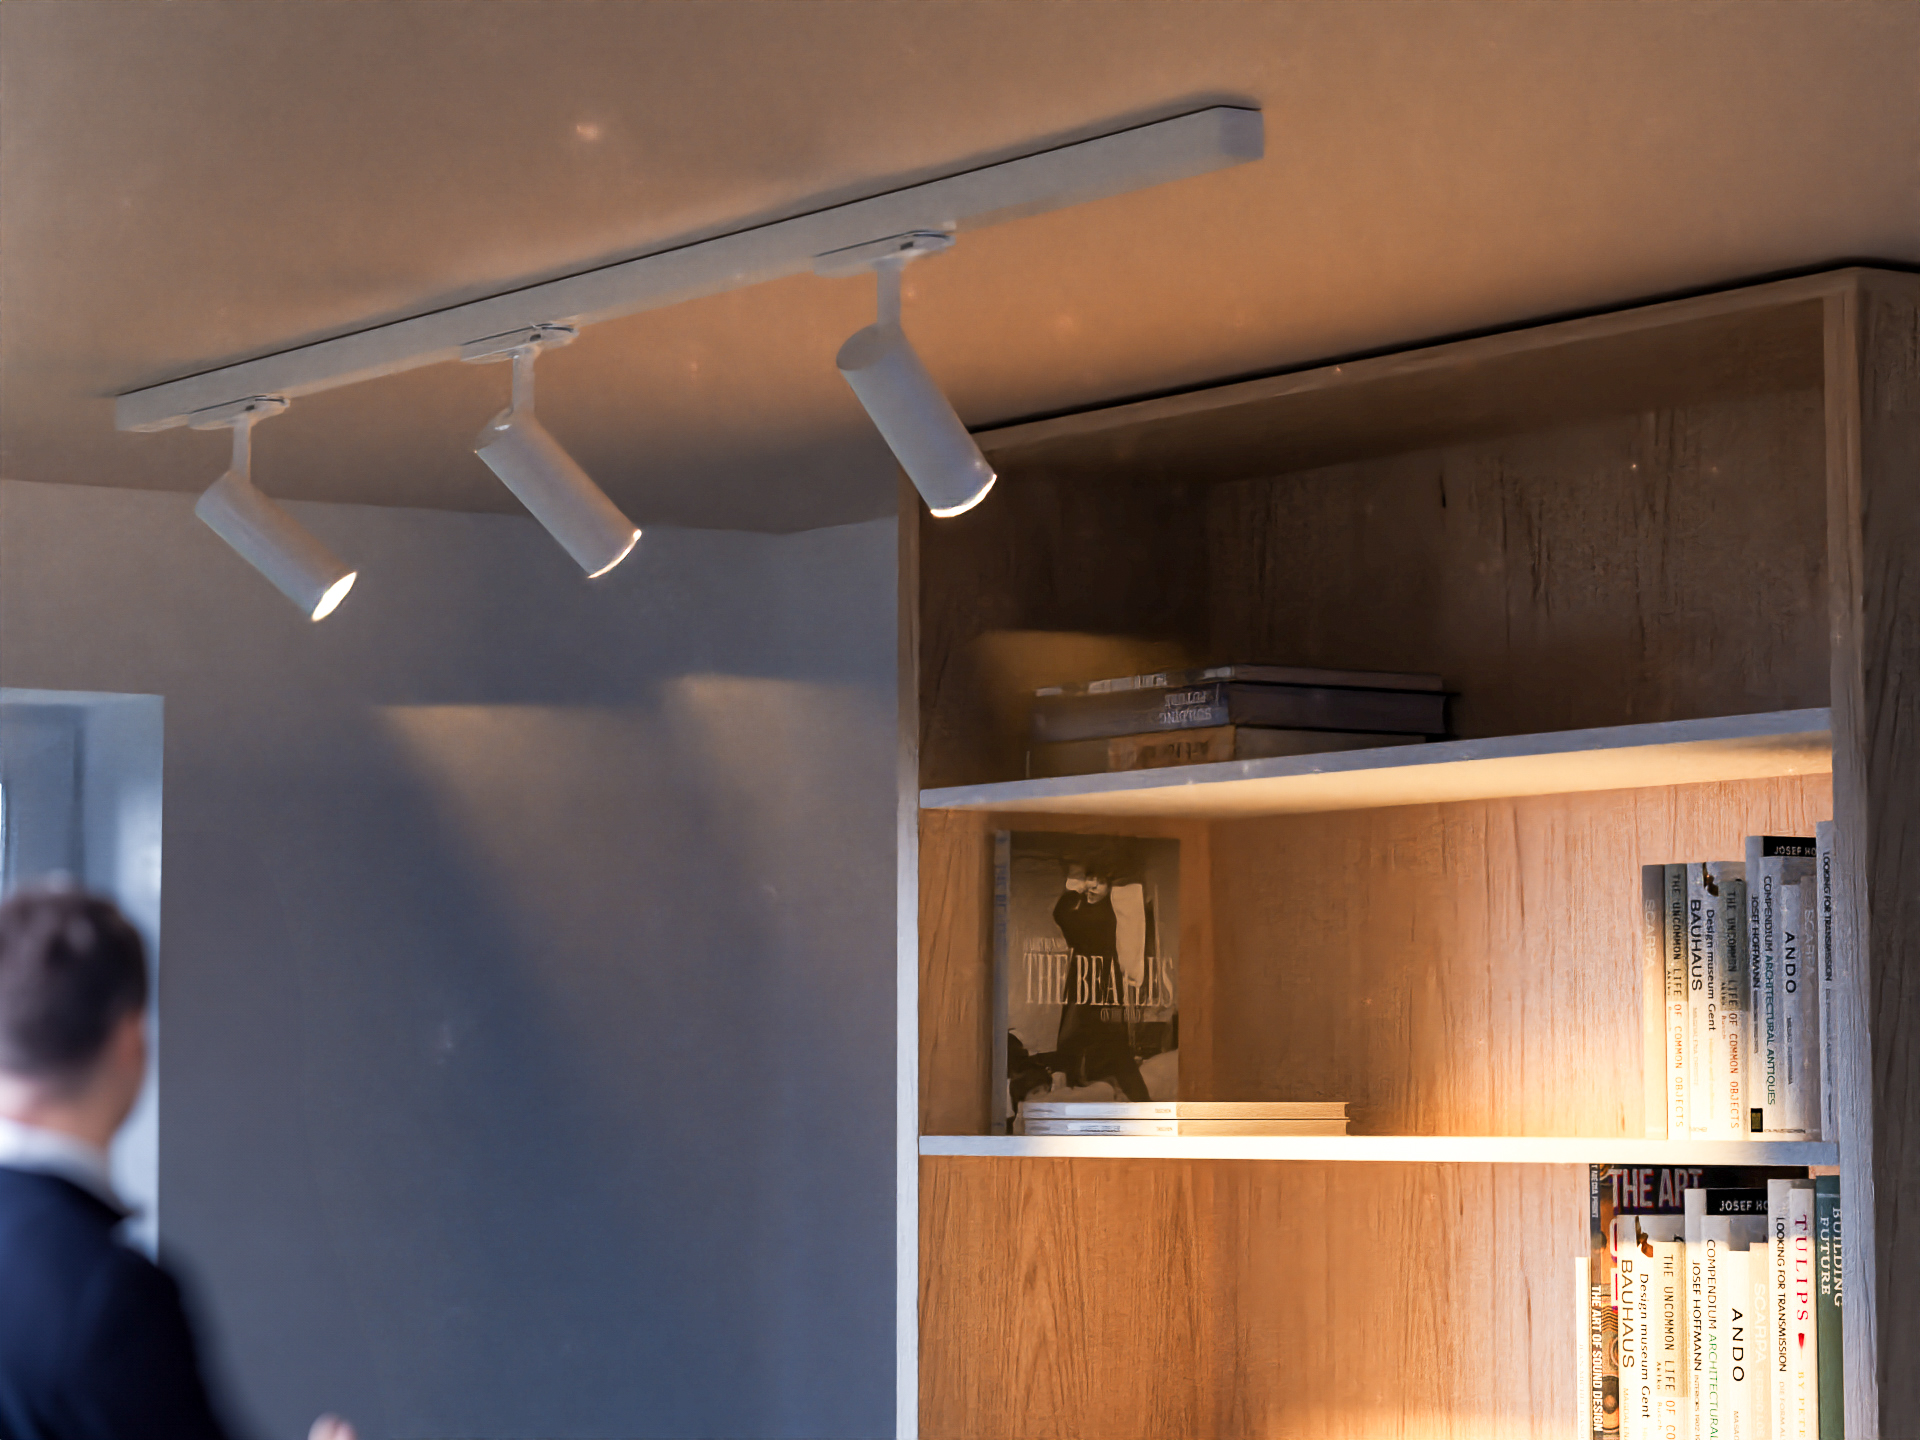
Here we can see the light projection on a shelf:
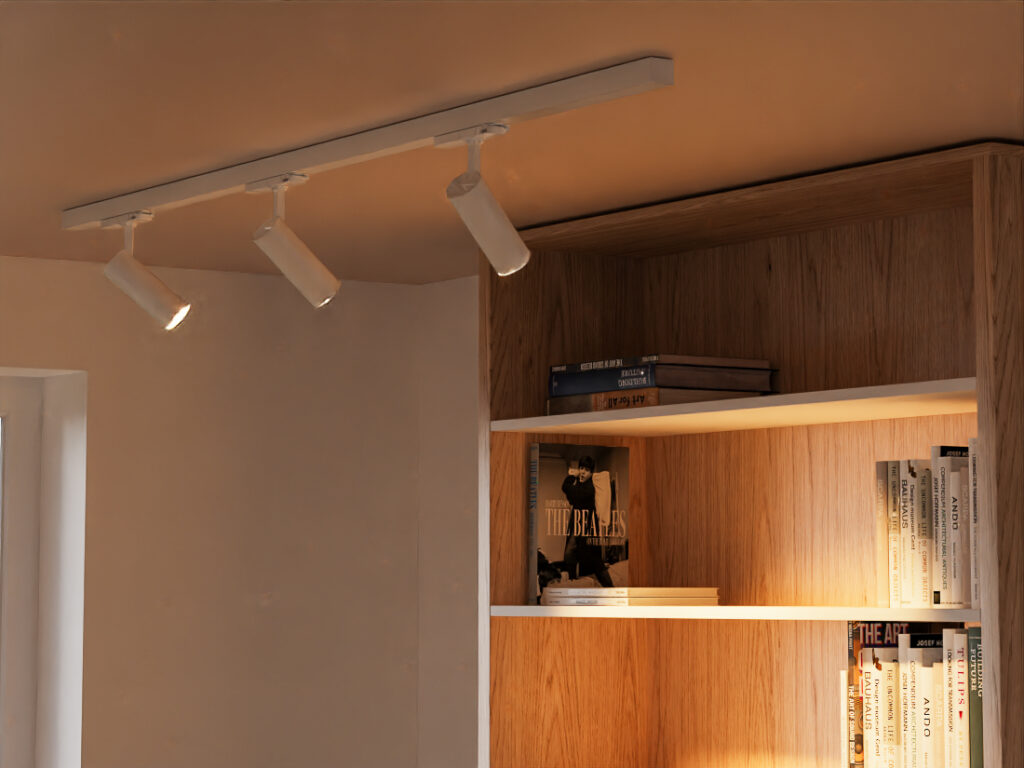
Result of integrating the light spotlight system into an interior scene in KeyShot. We can observe the light projection on the shelf.
In this tutorial, we have learned
How to create spotlight–type lights for a three-projector system. We have seen step by step how to create a cylinder in KeyShot, give it a light material, and integrate it into the lamp’s spotlight.
We have also edited the light beam projection of the spotlight to determine how far we want the light to project.
And we have adjusted the parameters of the luminaire to fit the values to a lamp consistent with its properties.
Finally, we can see how creating lights for projector-type lamps is a straightforward process that allows us to enhance the lighting and realism of our scenes in KeyShot.

