Brief Introduction
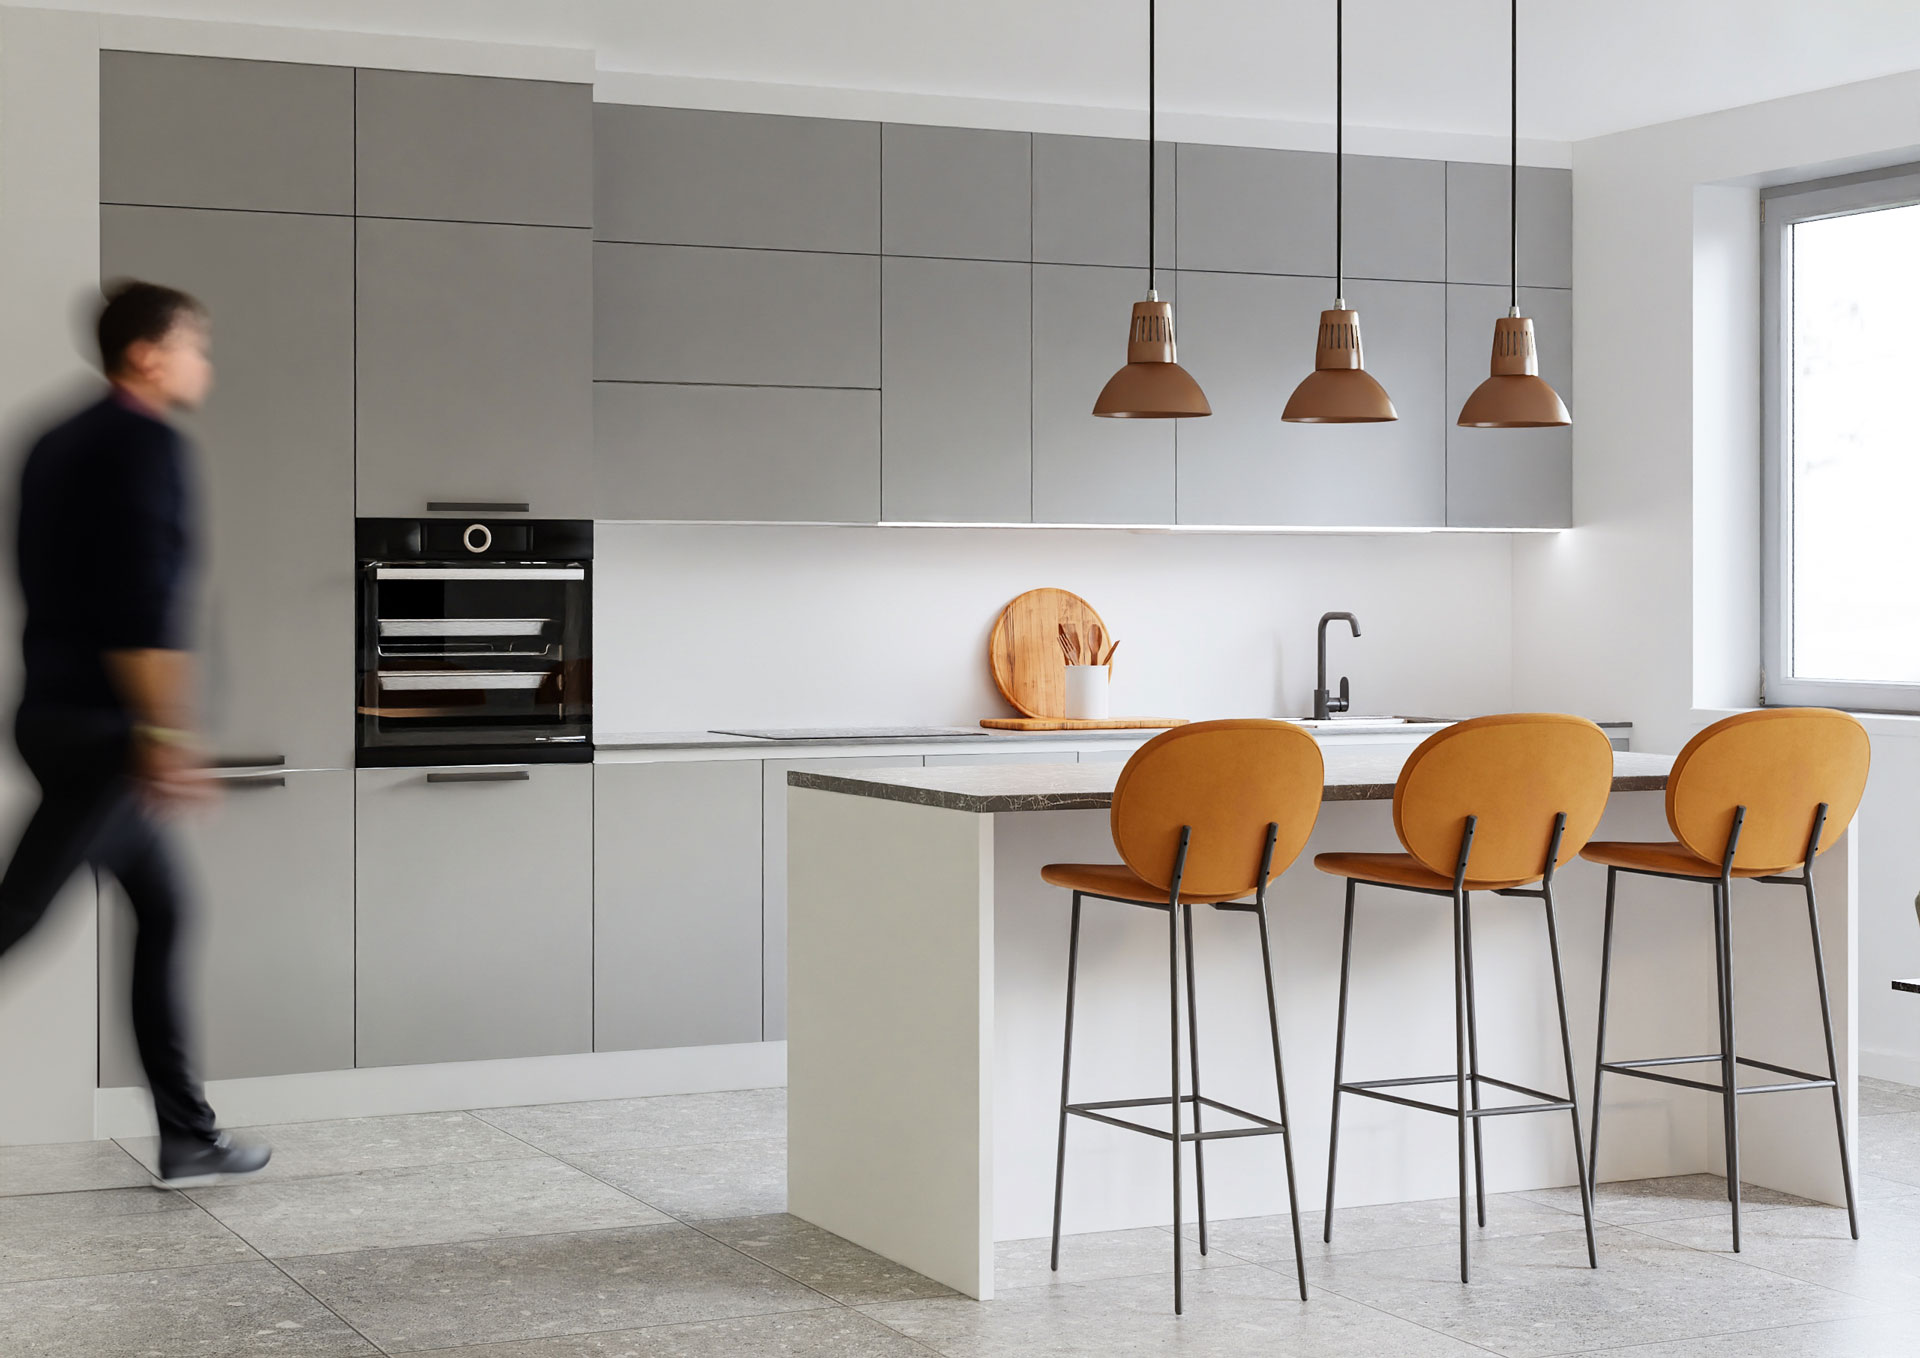
We know that KeyShot is a powerful tool for designers, enabling them to generate renders intuitively and without extensive technical knowledge, unlike the complexity presented by other rendering engines.
KeyShot initially focused on product rendering but has since expanded its functionality to include rendering of spaces.
Keys to Creating Exterior Renders in KeyShot
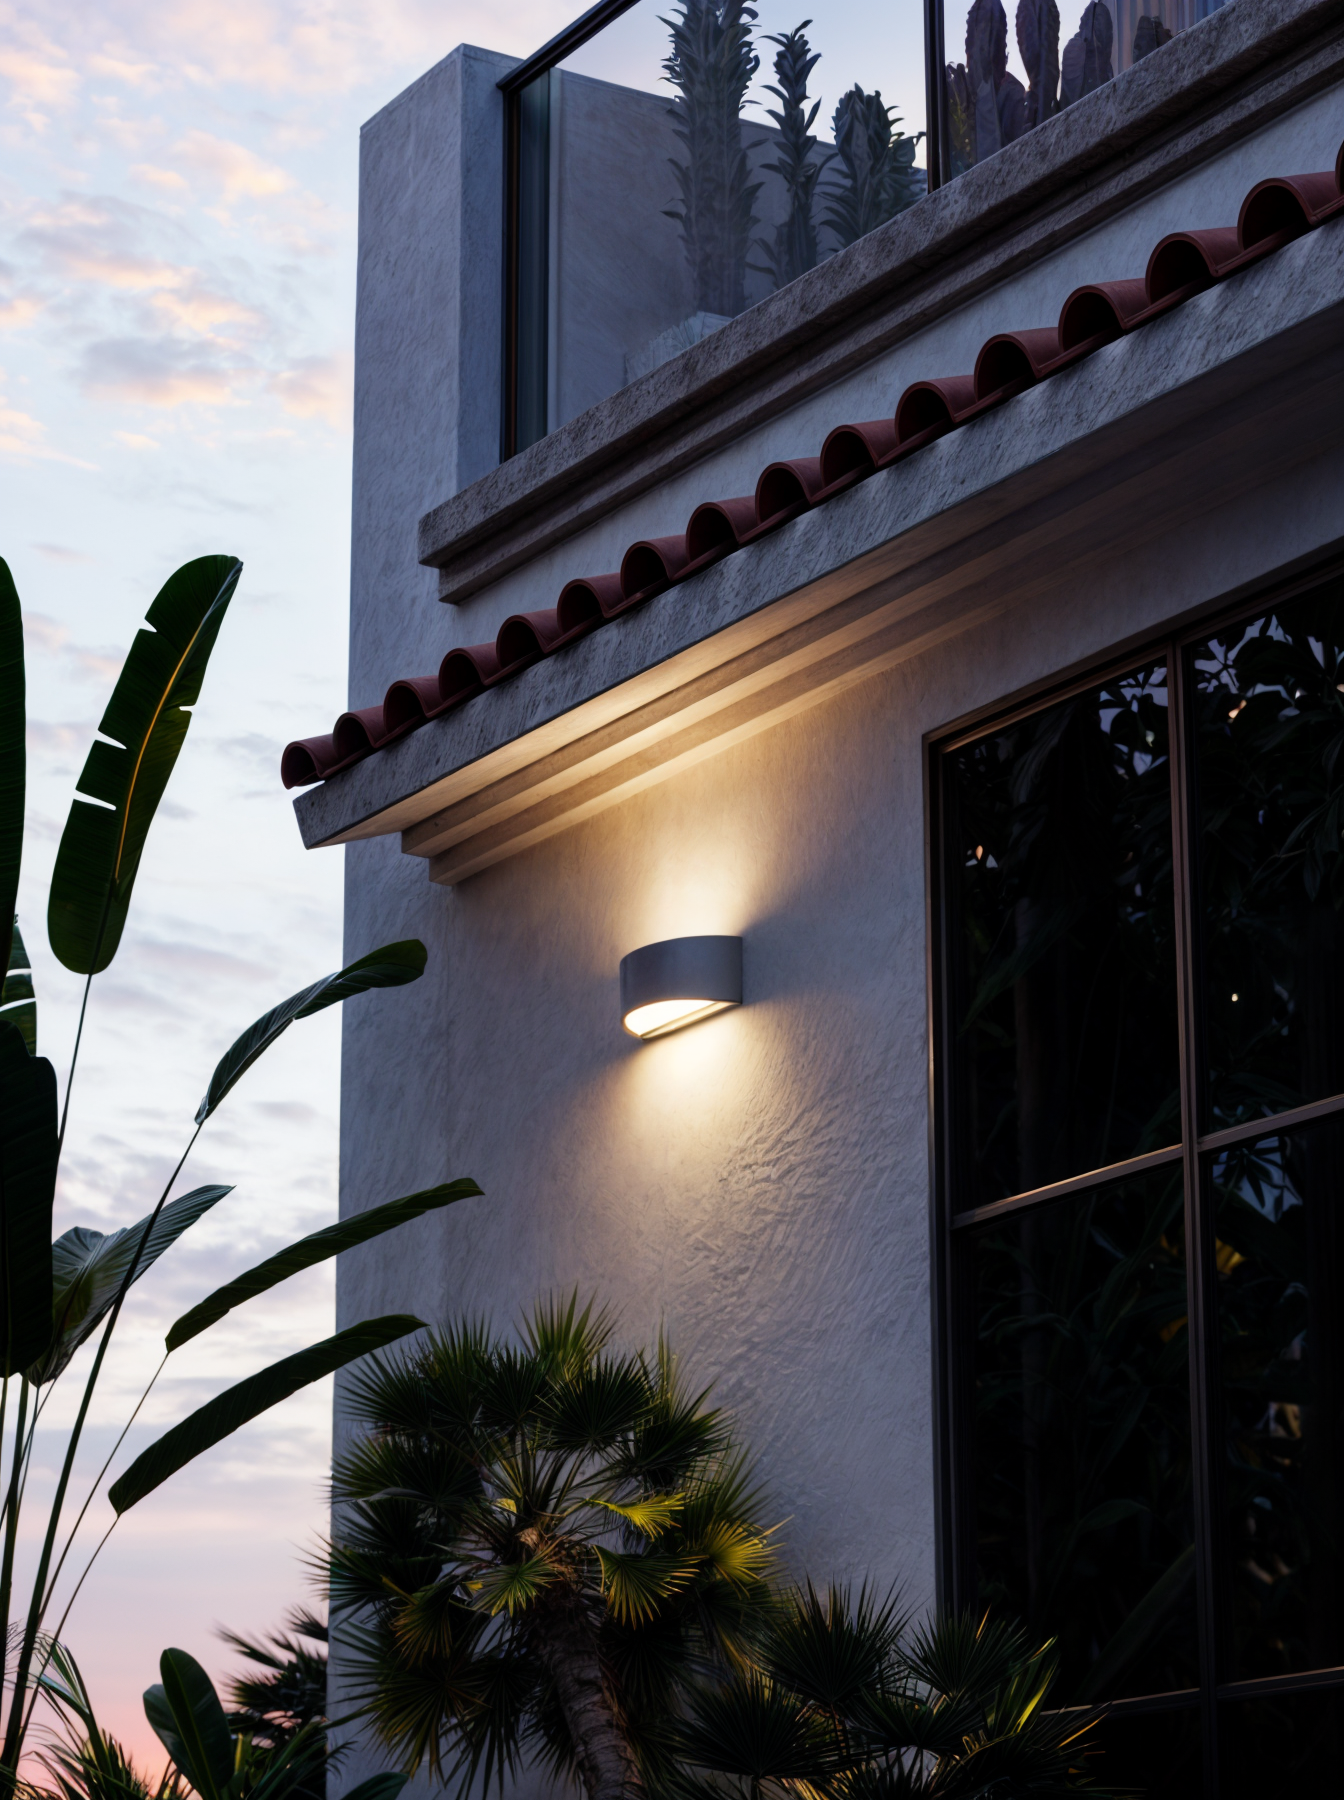
In this article, we want to show you ways to create space renders, focusing on outdoor spaces.
The main challenge in creating a realistic outdoor scene lies in the number of 3D objects we need to add to give the space its exterior identity.
We’ll share the key points that make a difference in creating an outdoor scene in KeyShot:
Main 3D Models
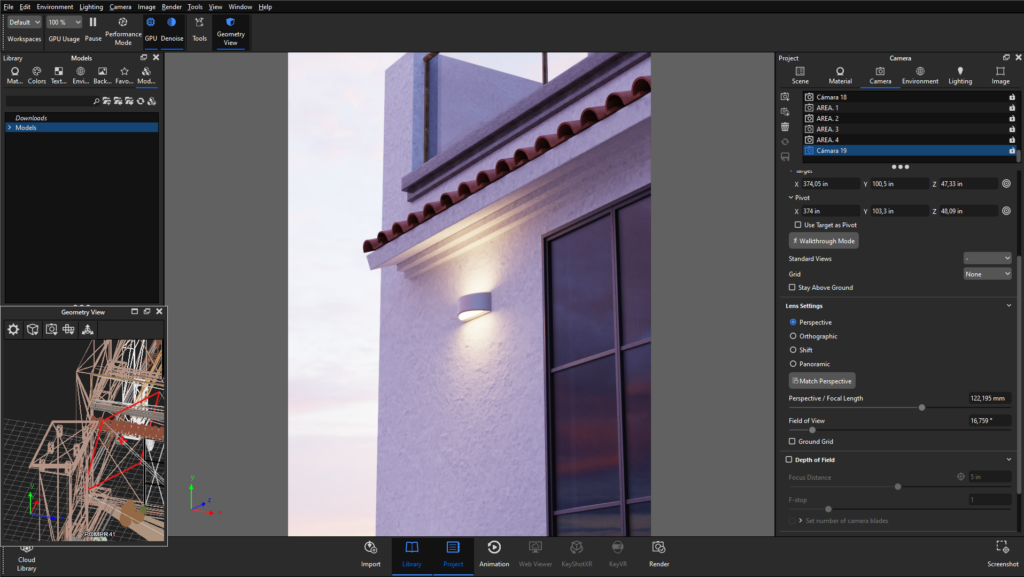
In outdoor 3D space, we need a primary structure, which could range from a building, a house, a terrace, to a pergola. We need high-quality geometry detailing to add materials to the facade, windows, porticos, etc.
Outdoor HDRI Environment
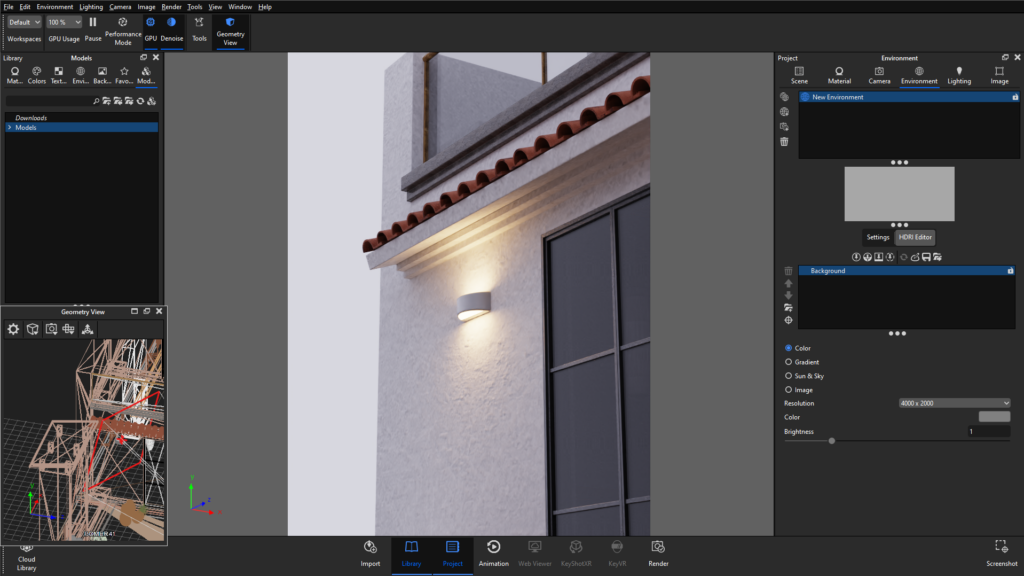
This, in our opinion, is the crucial point. Choosing a suitable HDRI environment for the scene is vital if we want to achieve a realistic outdoor render in KeyShot.
For example, the sky in our render will be the sky from the HDRI environment. Thus, depending on whether we aim to create a scene representing sunset, sunrise, or a rainy and cold day, a sunny and summery day, we need to select an HDRI environment corresponding to the desired outdoor setting.
We can utilize free repositories to download outdoor HDRI environments. For instance, PolyHaven is a good and free option.
3D Decorative Elements
To achieve a realistic outdoor render, it’s essential to “fill” it with plenty of vegetation. While vegetation might not always be necessary, irregular and non-symmetrical elements contribute to the realism of our visual perception. If everything is square and geometric, it will be harder to perceive as realistic.
Therefore, we’ll also need to import 3D models into KeyShot, apply textures to materials, and gradually add them around the scene we want to render.
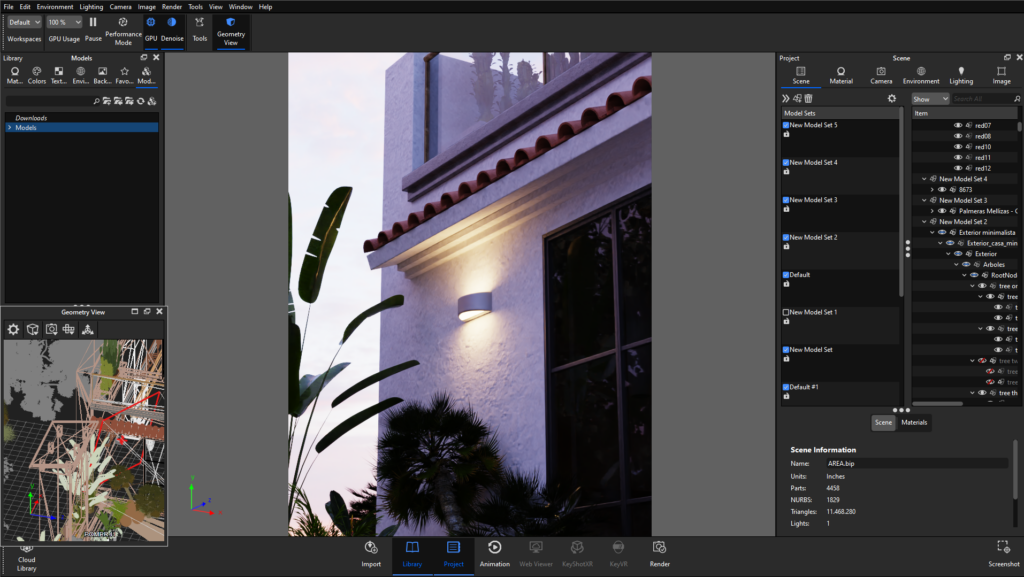
It’s important not to overdo the number of 3D elements added to the scene. While they are crucial, excessive elements can significantly increase GPU memory usage and potentially exhaust rendering memory.
Do you need to render an outdoor scene but lack the time?
If you’re in need of creating an exterior render in KeyShot but don’t have the necessary resources or time to invest in its creation, we have good news: At creox.io, we offer preconfigured scenes with all 3D models, materials, and environments included. You can learn more by visiting the Bayit exterior scene, featuring a garden with a pergola and seating area.
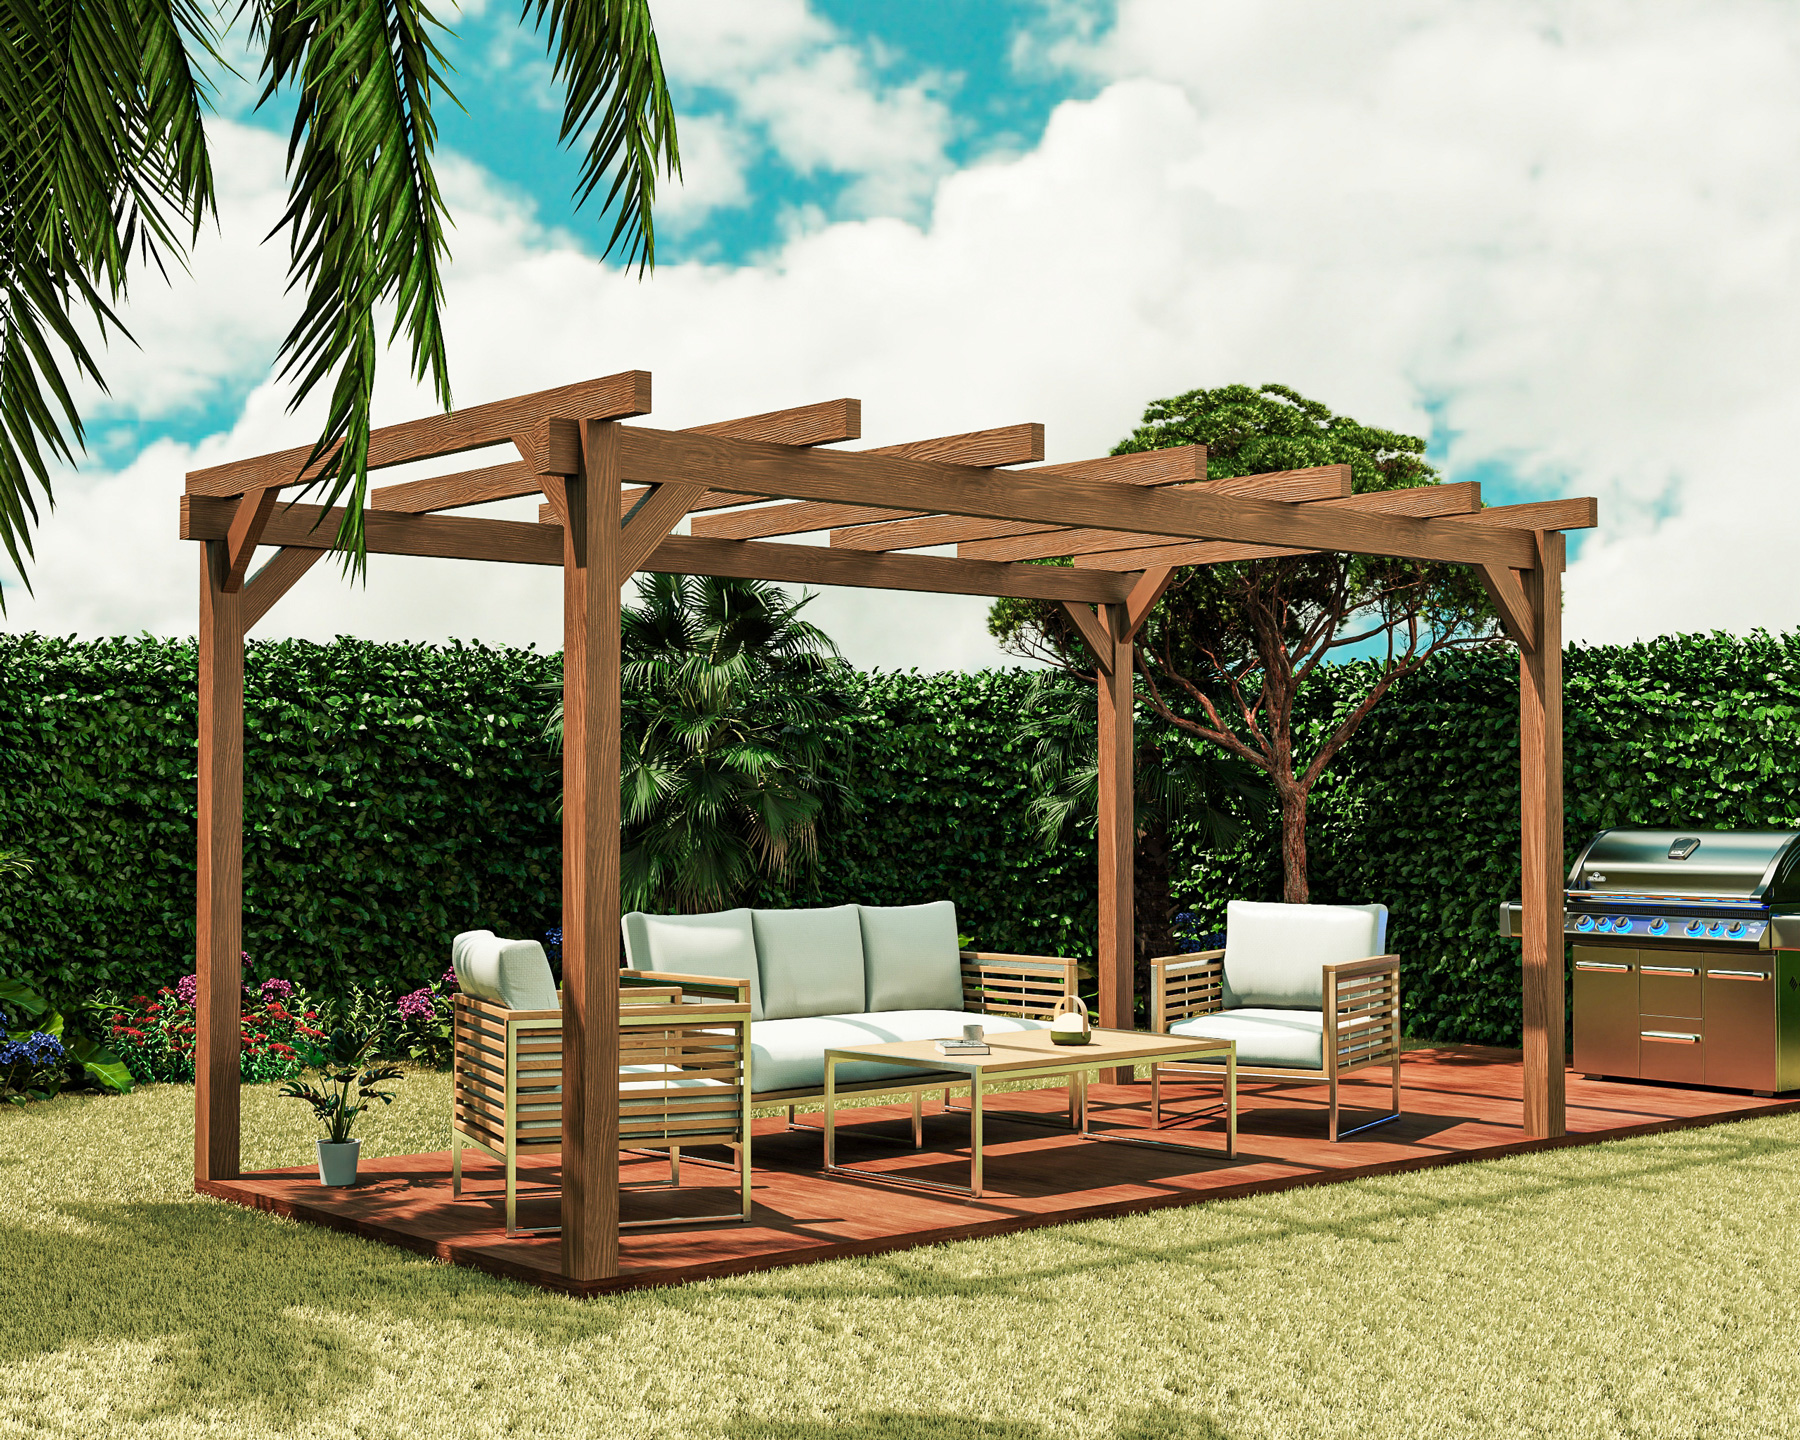
Bayit
Summary and Conclusion
To create outdoor space renders in KeyShot, it’s vital to use 3D models with a minimum level of geometric quality. Utilizing an HDRI environment is key to achieving photorealistic results, thanks to the provided illumination.
Adding vegetation, trees, and plants to the scene will enhance the realism of our visual perception.

