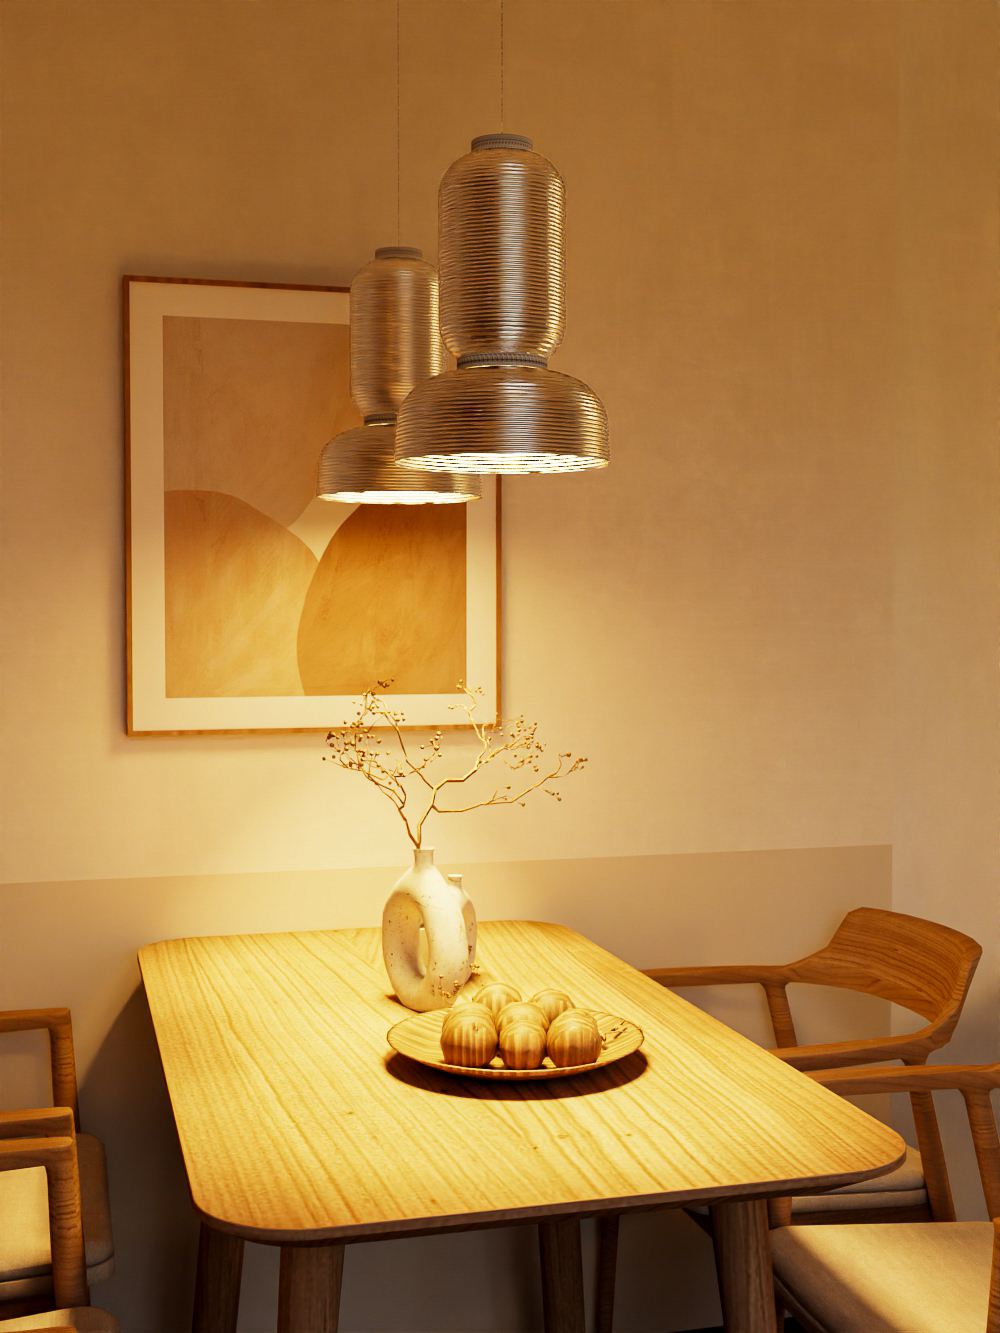
In this tutorial, we will learn how to create realistic pendant light illumination in KeyShot using a combination of Area Light and Spot Light. We’ll start with an interior scene where pendant lamps are already placed and progressively build up a warm and natural lighting effect.
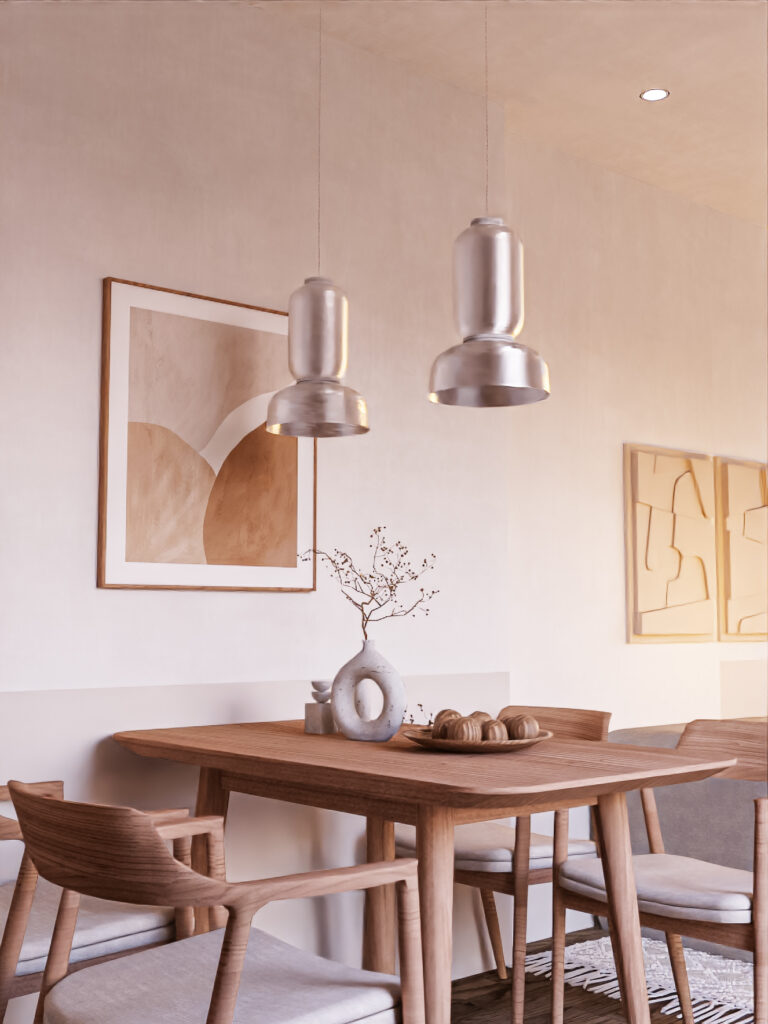
Step 1: Assigning a Material to the Light Emitter
If you have the light emitter modeled (like a light bulb), assign it a light-emitting material. If the emitter isn’t modeled, you can add a simple sphere and adjust its size to resemble a bulb.
For the material, follow these steps:
- Go to Material > Type > Area Light.
- Set the power to 1000 lumens.
- Adjust the color temperature to 2700K for warm, ambient lighting.
- Leave the samples value at 9.
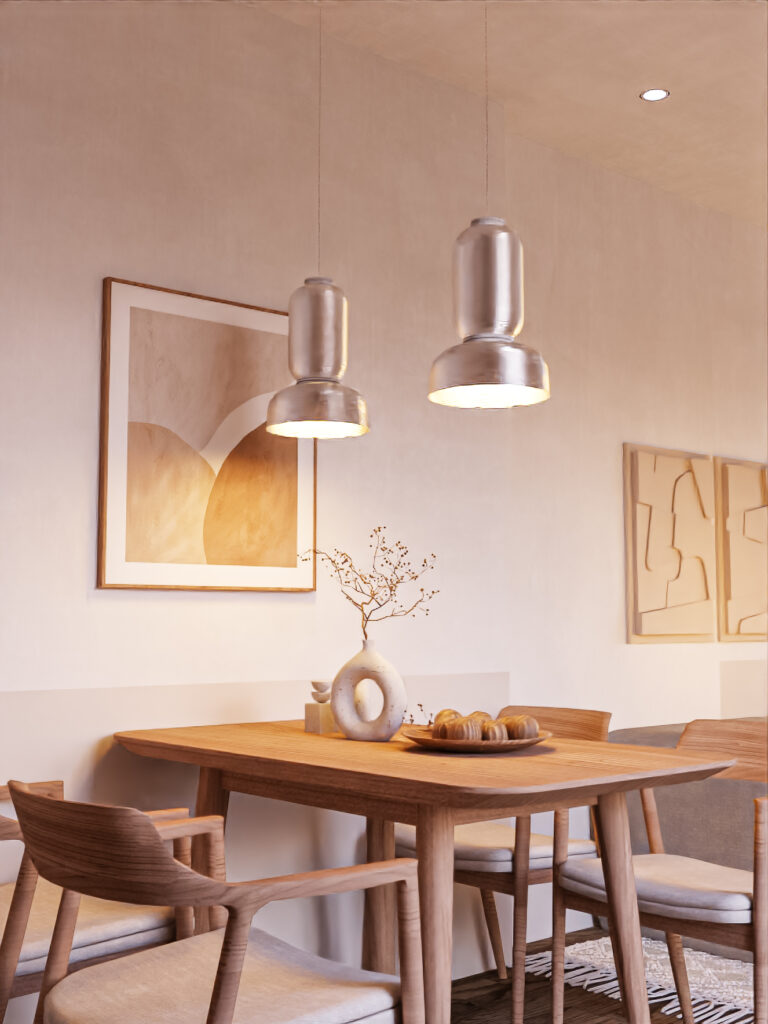
Now, if you render the scene, you’ll see the lamp illuminated, casting a subtle, warm light around the area.
Step 2: Enhancing Realism with Spot Light
To further enhance realism, we’ll now add a Spot Light to simulate the focused light projection onto the objects below.
Follow these steps to adjust the spot light:
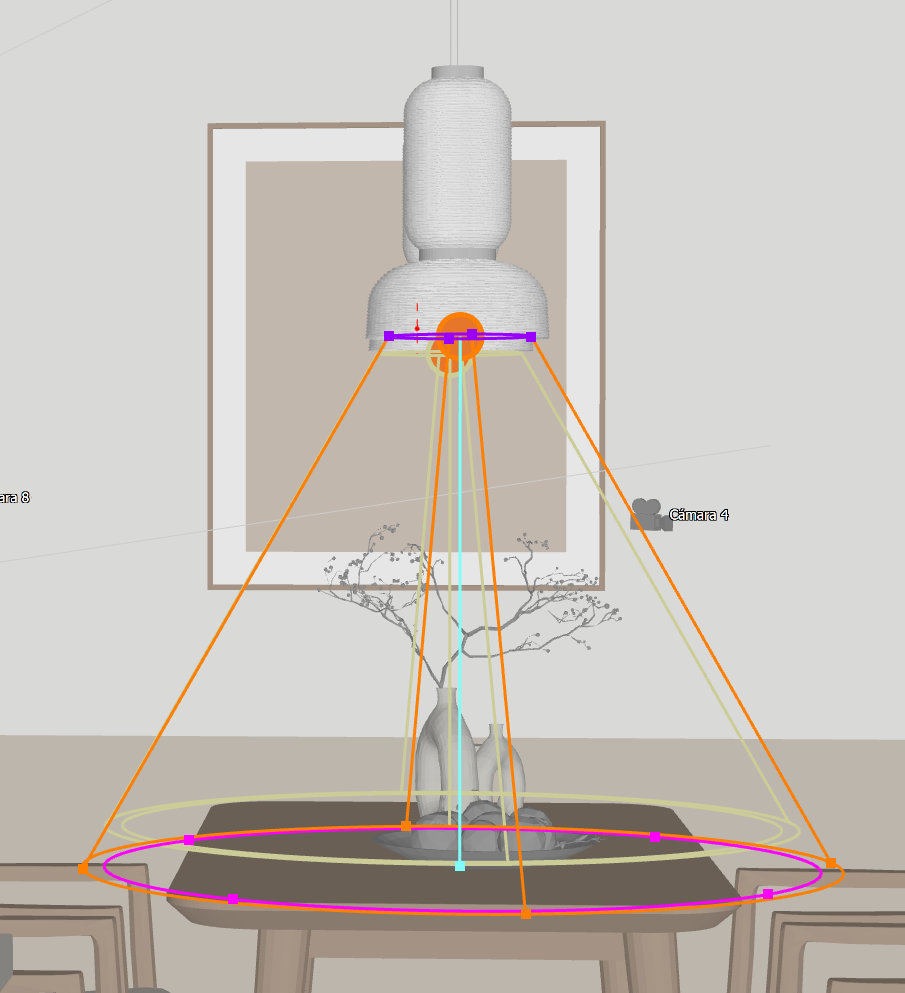
- Go to the Scene tab, and activate the Geometry View if it’s not already active. You’ll see a cyan dot representing the light’s direction.
- Zoom into the cyan dot and stretch it to adjust the depth of the light projection.
- Set the power to 50 Watts.
- Adjust the light angle to 60º, ensuring the light spreads across the area you want illuminated, such as the table.
- Set the falloff (diffusion) to 0.05 for soft light edges.
- Set the radius to 105mm to define the width of the light source.
- Make sure to fine-tune the power so the scene doesn’t appear overexposed, aiming for natural lighting conditions.
Step 3: Adjusting the Light Direction
In the Scene tab, use the Geometry View to adjust the light’s axis. Move and stretch the cyan dot to direct the light correctly, ensuring it covers the entire table or the surface below the lamp. In this case, the light direction is set to Y negative. If the light isn’t aligned properly, adjust the direction to match your scene’s needs.
Step 4: Final Result
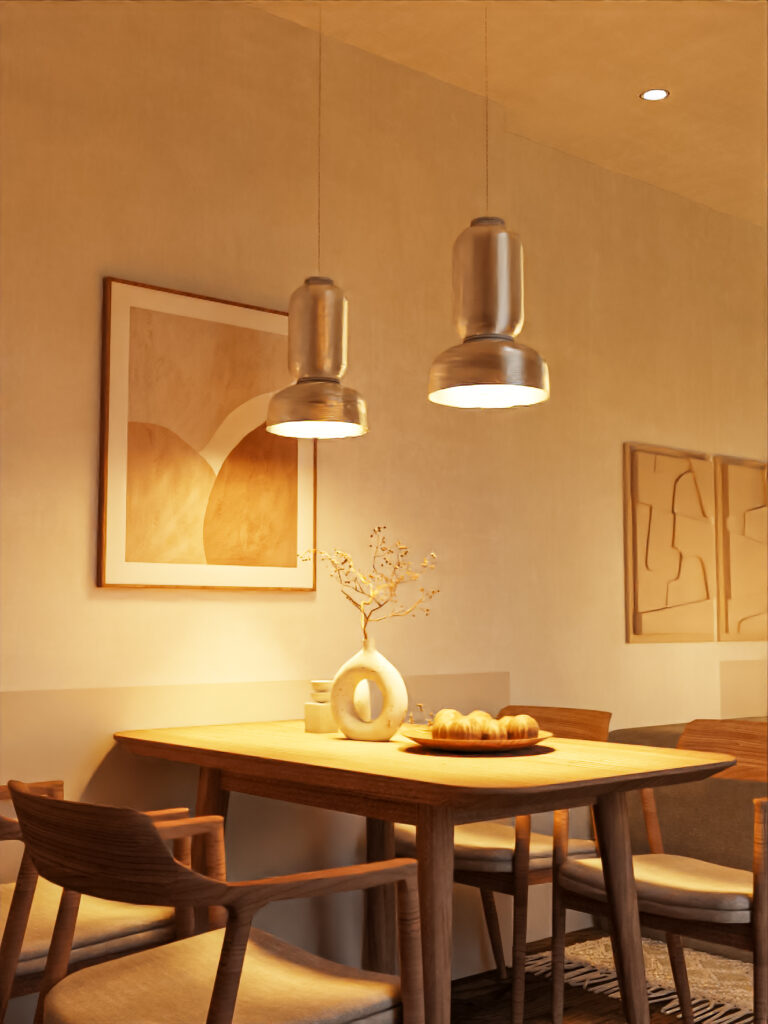
By combining the Area Light and the Spot Light with proper settings, you can create a warm, natural lighting effect that mimics real-life illumination. The lights should appear turned on and cast a soft, realistic glow onto the surrounding objects.
Conclusion
In this tutorial, we learned how to create realistic pendant light illumination in KeyShot. By using both Area Light and Spot Light, and carefully adjusting the light direction and intensity, we can achieve a natural and realistic lighting effect. This setup ensures that the lights appear realistically illuminated and the objects around them are well-lit.

