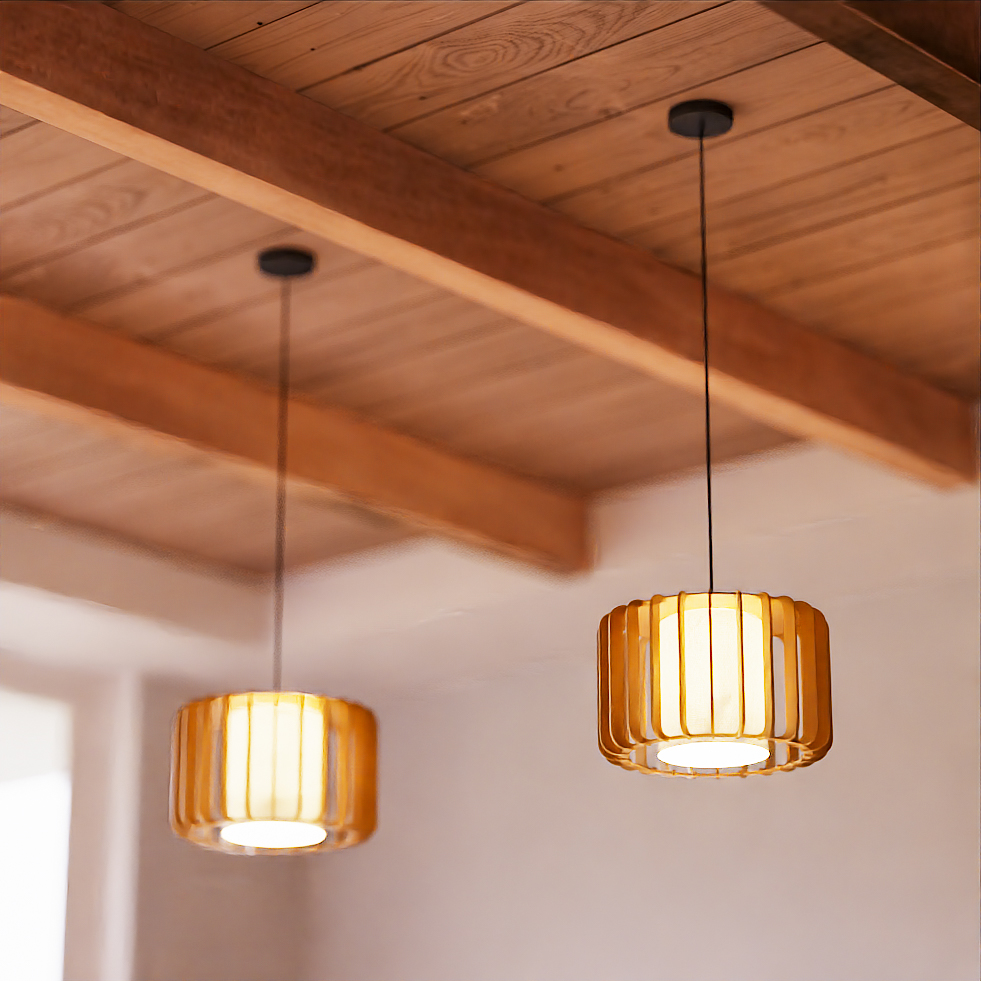
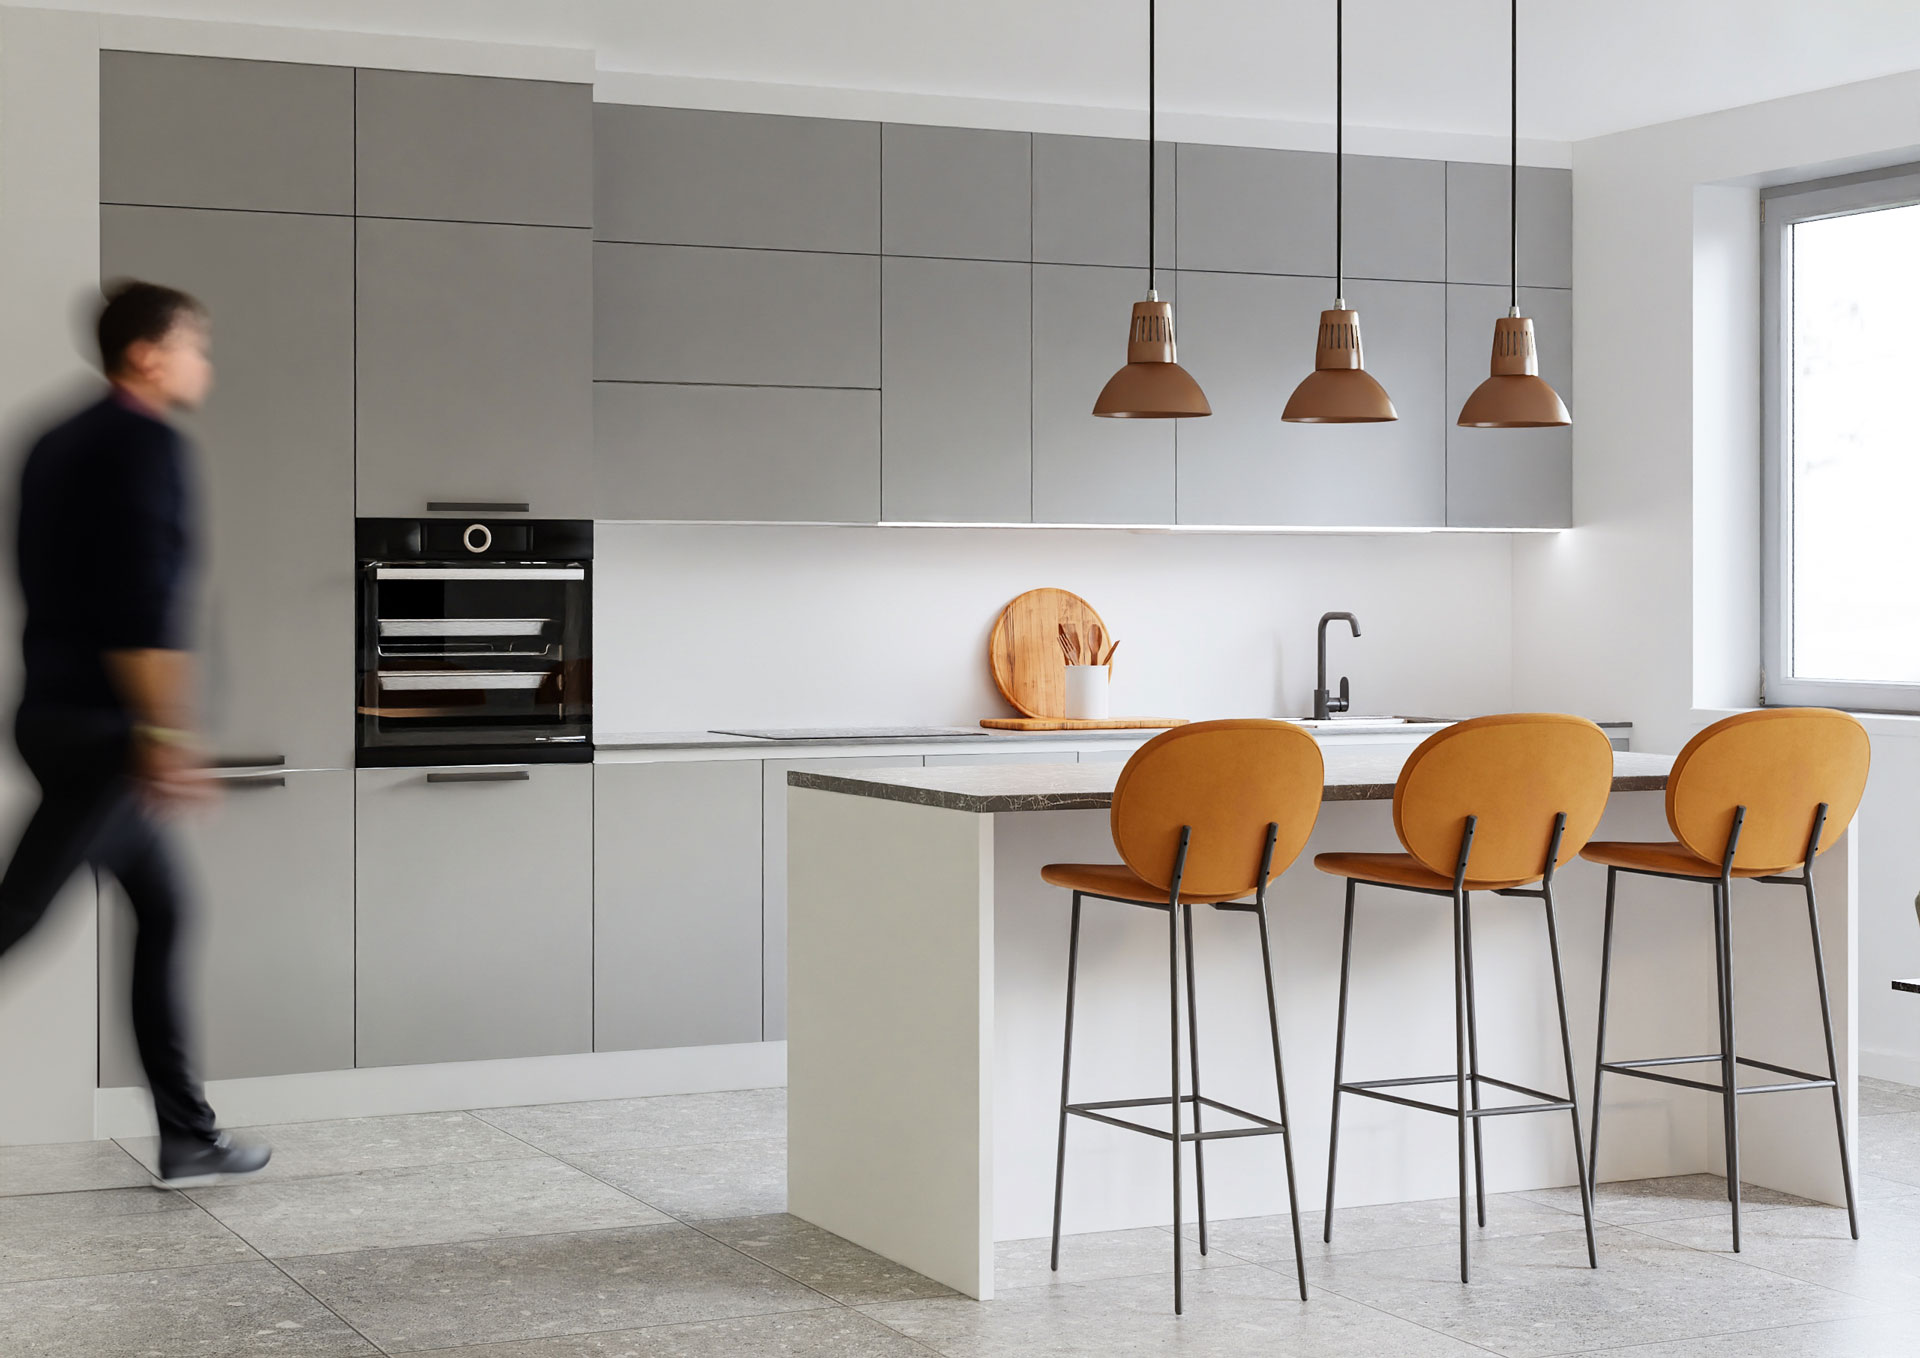
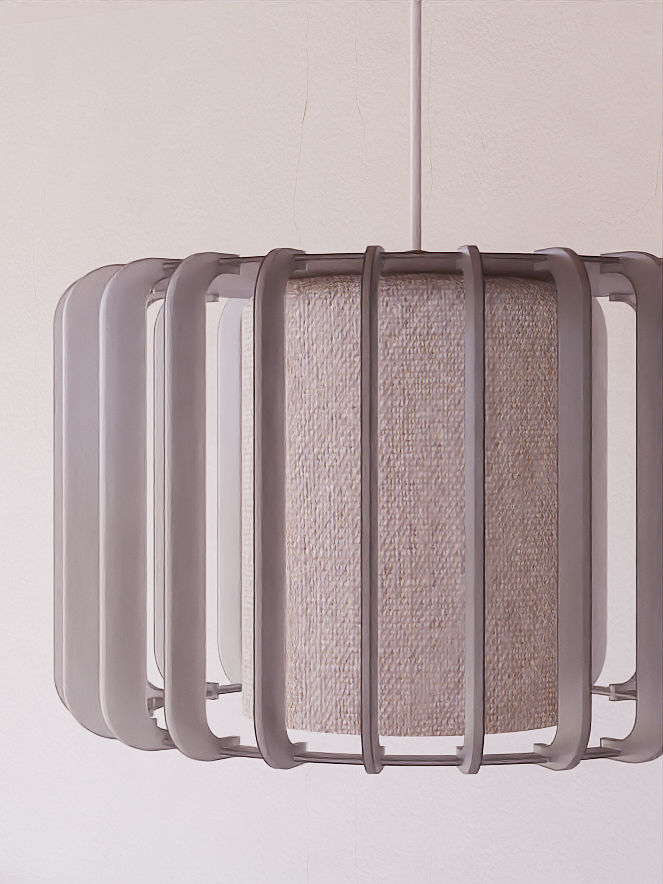
In this mini tutorial, we will learn how to create a fabric material for a lamp’s diffuser in KeyShot. This step-by-step guide will show you how to apply realistic textures to a lamp model, simulating the look of a fabric-covered diffuser.
Step 1: Setting Up the Lamp Model
Start by loading your lamp model in KeyShot. The lamp should be prepared for material application.
Step 2: Creating a Generic Material and Adding Textures
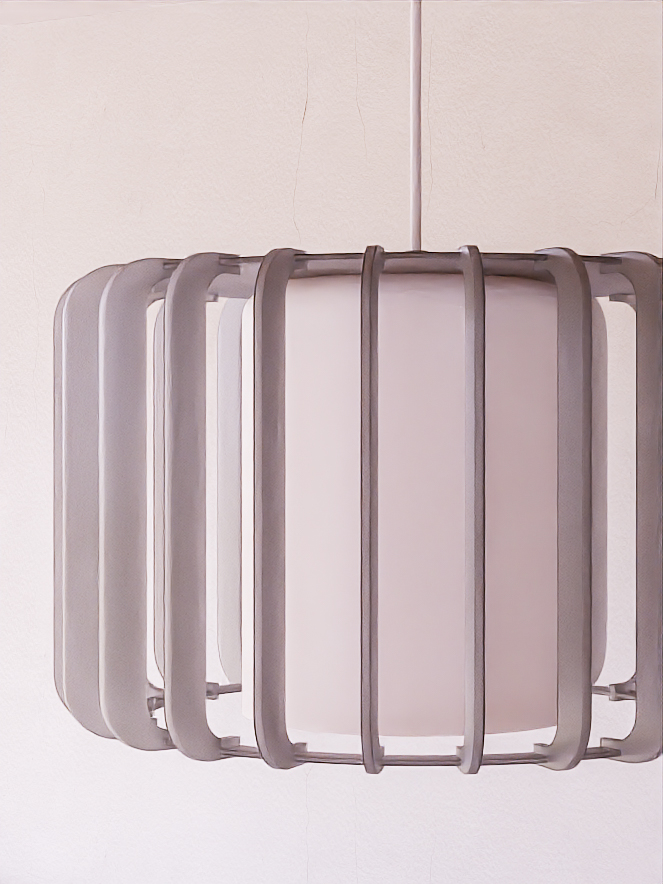
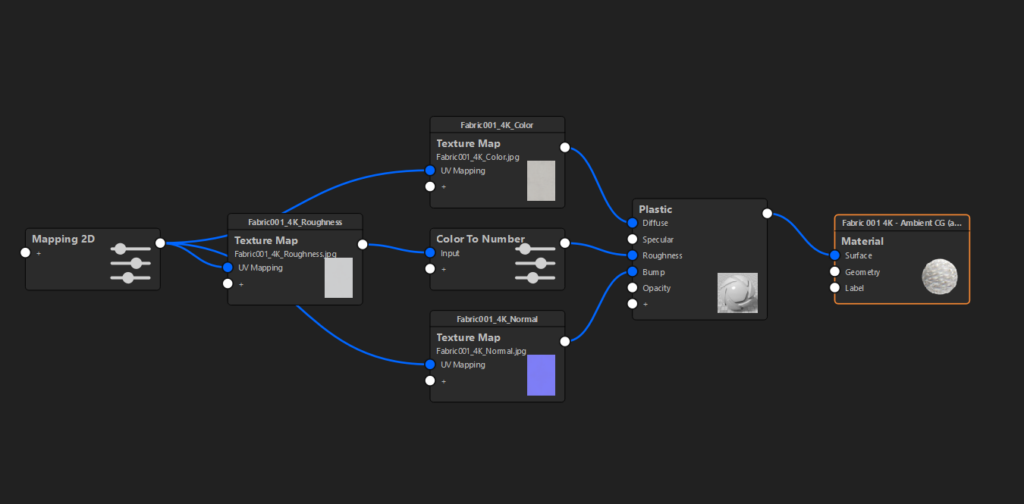
Select the surface of the lamp that will represent the fabric diffuser. Create a new Generic material by right-clicking on the model and selecting Material > Type > Generic. Download a fabric texture map from a free resource like CC0 Textures. In the Material Graph, assign the downloaded Base Color texture map to the Diffuse channel of the Generic material.
Step 3: Adding Roughness with “Color To Number” Utility
Now, add a Roughness texture map to the Roughness channel in the Generic material. Right-click in the Material Graph and navigate to Utilities > Color To Number. Connect the Roughness texture to the Color To Number utility and link it to the Roughness channel. Set the following values in Color To Number: Input From to 0, Input To to 1, Output From to 0, and Output To to 1. This allows for more control over how rough or smooth the fabric appears.
Step 4: Applying Normal Map for Texture Depth
Next, add a Normal map to simulate the fabric’s depth and texture. Connect the Normal map to the Bump channel in the Material Graph to give the surface a realistic fabric-like texture.
Step 5: Using “Mapping 2D” for Texture Adjustments
Add a Mapping 2D utility by right-clicking in the Material Graph and selecting Utilities > Mapping 2D. Connect each texture map to the Mapping 2D utility. Double-click on the texture maps and set the Mapping Type to Node. In the Mapping 2D settings, choose the Box mapping type and adjust the texture scale based on your model’s dimensions. For this tutorial, we set the scale to 1000mm.
Step 6: Adding the Diffuser Light
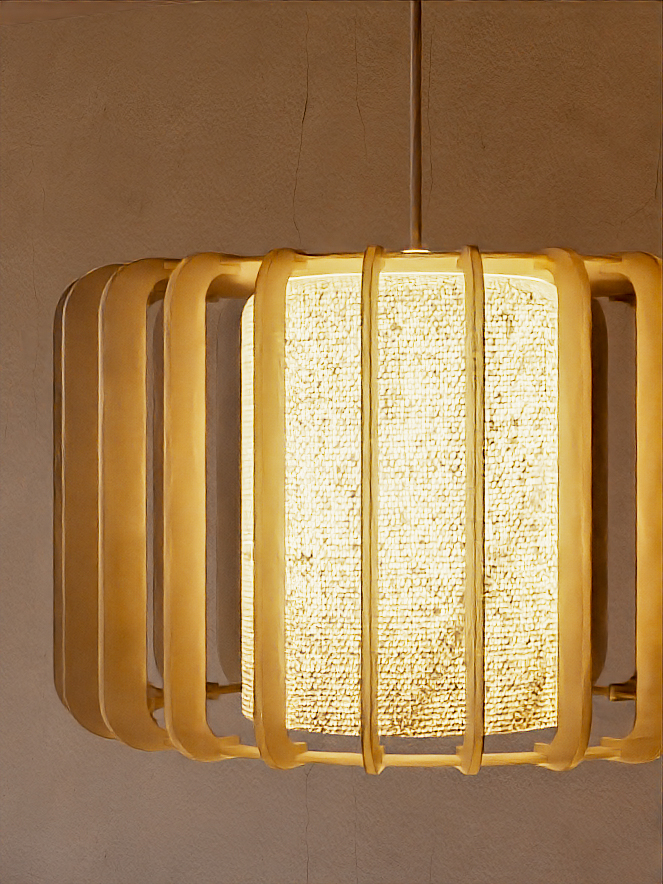
To simulate the light inside the diffuser, go to the Models tab and drag a Cylinder into the scene. Position the cylinder inside the lamp, shaping it to match the diffuser’s form. Assign a Light (Area) material to the cylinder, adjusting the power based on the intensity of the lamp. In this example, we set the light temperature to 3000 Kelvins to give it a warm glow.
Conclusion
Creating a fabric material for a lamp’s diffuser in KeyShot is a straightforward process using the Material Graph and utilities like Color To Number and Mapping 2D. By adjusting texture maps and light settings, you can achieve a realistic fabric effect that enhances the look of your renders.
Keywords: KeyShot fabric material, lamp diffuser material, fabric texture in KeyShot, KeyShot material graph tutorial, realistic lighting in KeyShot.

