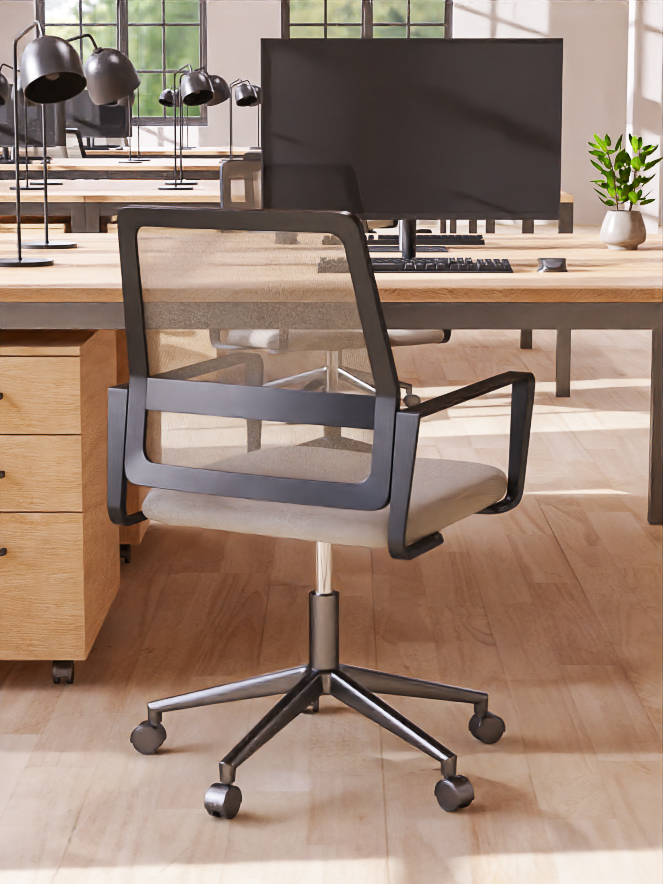
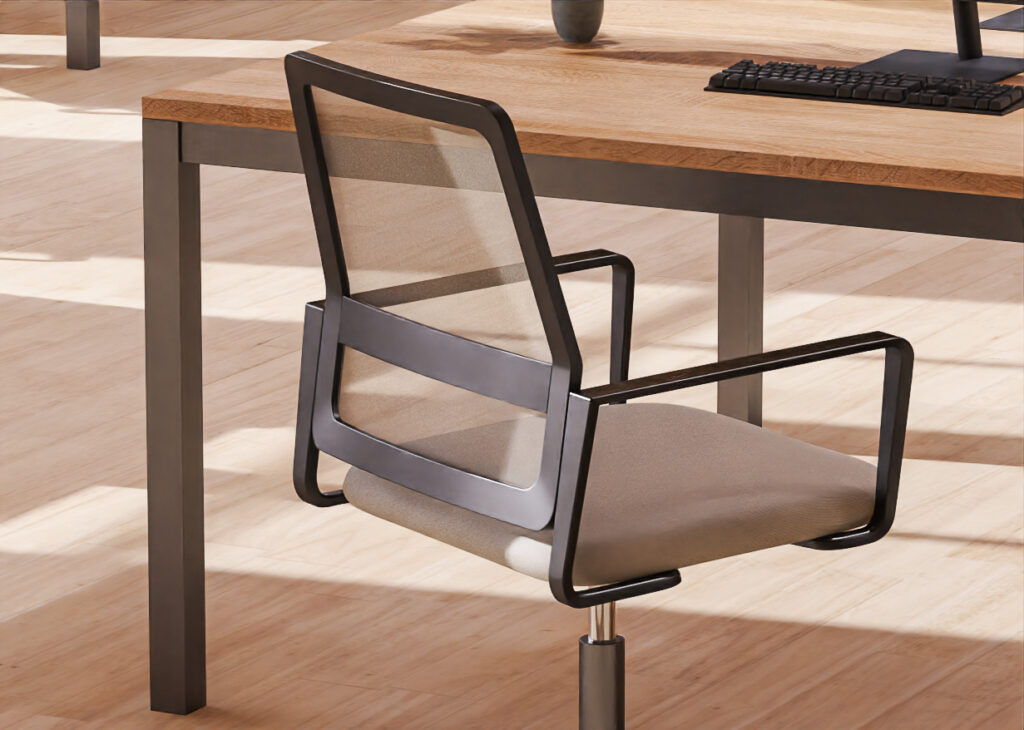
In this mini tutorial, we will learn how to create a realistic ergonomic mesh material for an office chair using KeyShot. This material is commonly used for lumbar support areas in modern office chairs and can be easily applied to your 3D model.
Step 1: Preparing the 3D Model and Textures
First, ensure you have the 3D model of the office chair ready. To create the ergonomic mesh, you’ll need to download texture maps that closely resemble the material. You can find similar textures from this texture repository.
For this tutorial, we will use four texture maps: Base Color, Roughness, Bump and Opacity.
Step 2: Assigning the Generic Material in KeyShot
Select the lumbar support area of the office chair model. Assign a Generic material to this part by right-clicking the model and selecting Material > Type > Generic.
Step 3: Using the Material Graph to Apply Textures
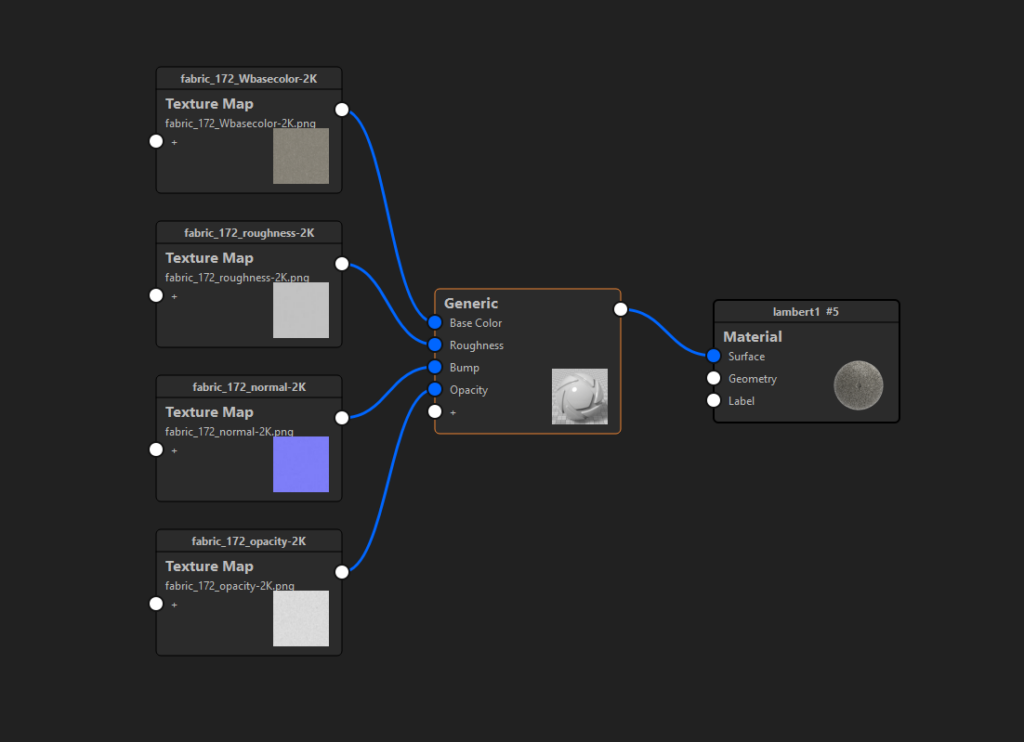
Open the Material Graph by right-clicking the material and selecting Edit Material Graph. Drag and drop the texture maps (Base Color, Roughness, Bump, and Opacity) into the Material Graph window.
Step 4: Assigning Texture Maps to the Correct Channels
Now, assign each texture map to its corresponding channel in the Generic material:
Step 5: Adjusting the UV Mapping
Double-click on any texture map in the Material Graph. In the Mapping Type section, select UV Mapping to properly align the textures to the model’s surface.
Step 6: Fine-Tuning the Mesh Size
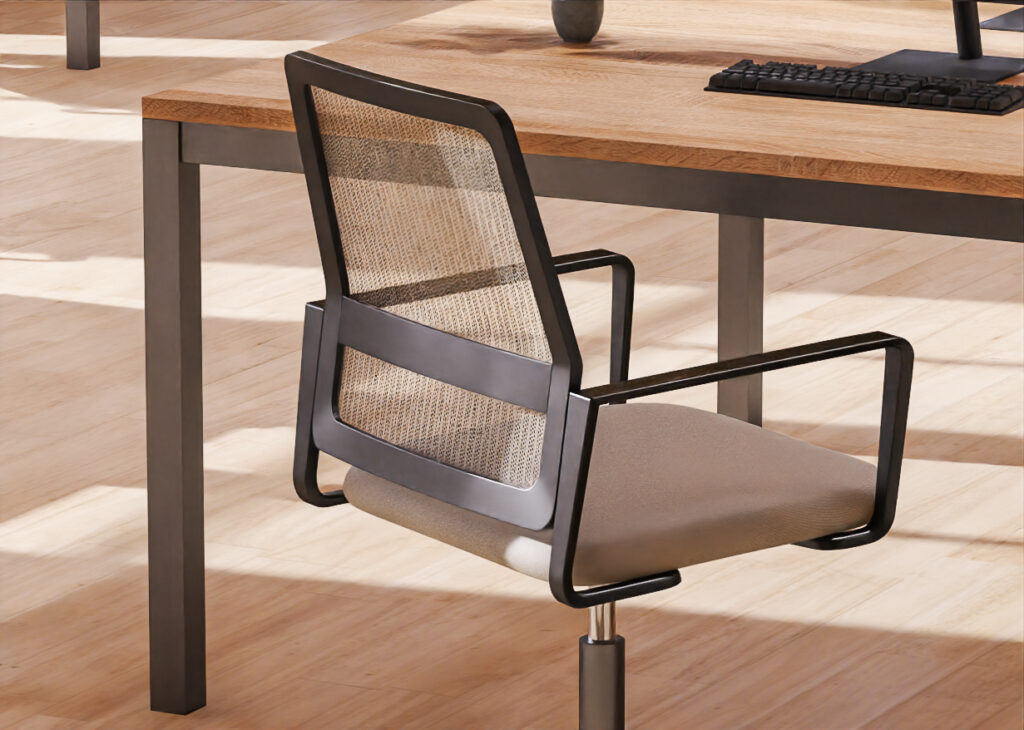
If the mesh appears too large on the lumbar support area, go back to the Material Graph. Double-click on any texture map and, in the Size and Mapping section, set the Width to 0.1. This will reduce the size of the mesh, making it finer and more realistic.
Step 7: Understanding the Importance of the Opacity Map
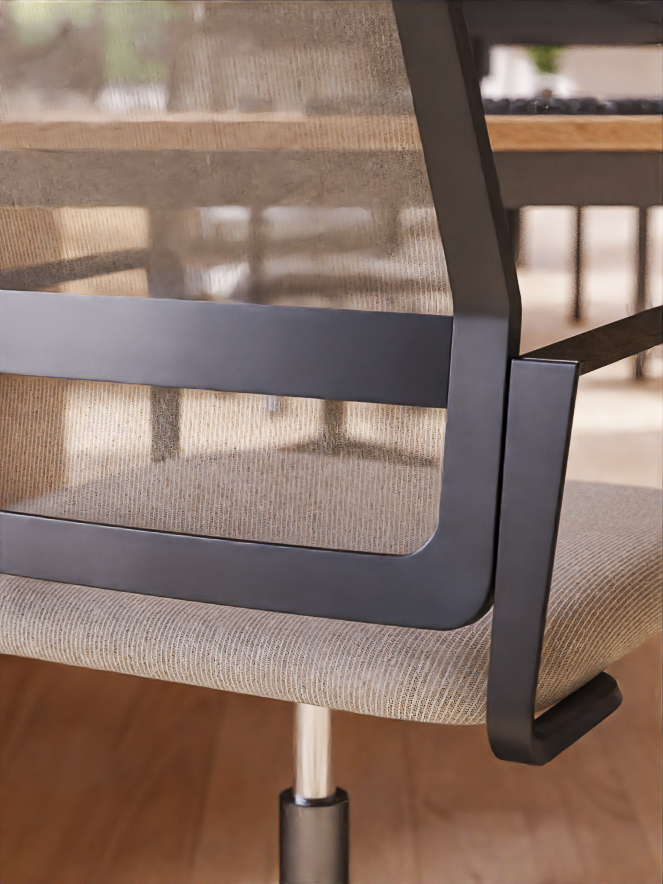
The real “magic” of this material lies in the Opacity map. This texture acts as a mask, cutting out parts of the material to create the see-through mesh effect. Light can pass through the holes, adding to the realism of the render.
Conclusion
Creating an ergonomic mesh material for an office chair in KeyShot is straightforward using the Material Graph and the right texture maps. The Opacity map is crucial for achieving the mesh effect, and by adjusting the UV mapping and size settings, you can fine-tune the material to look realistic. This technique adds a professional touch to your product renders.

